Shadow and Silhouette Photography Tips
Harsh sunlight is tricky to photograph people in, and when working I prefer lovely soft even light from an overcast sky. However, the sunlight creates great shadows that can be used for dramatic and fun photography if you have a play with them.
1. Make shadows your main subject
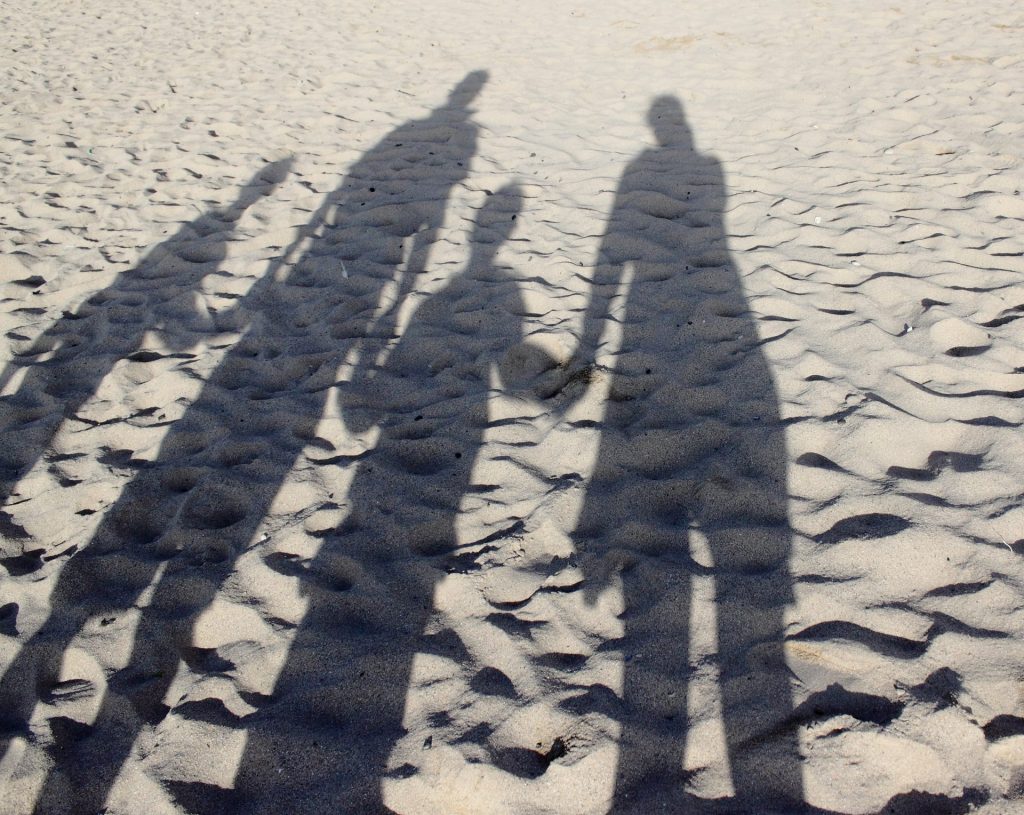
Why not try creating figures on a monotone background. To make this work, look for a plain light-coloured background for example grass, a wall, sand or anything that does not have a distracting pattern or a dark color. Remember, your shadow is already in the shades of gray or black. So you want a background that will contrast with it so that the figure formed will show up clearly.
2. Try shooting in Black & White
Shadows themselves are already in the shade of grey or black, and shooting it against a backdrop of white or light coloured objects converted to black & white creates a great contrasting image. This removes any colour hue which may distract our eye when we look at an image. Usually when we view a photo, our eyes are drawn to the play of colours or to the graphical shape or form in the image. Having a strong graphical shape or form will be an advantage and the shadow as the subject will stand out more.
3. Shoot in Harsh Sun Light
Sometimes, shooting in harsh sunlight can actually create dramatic results for shadow photography. In typical situations, I wouldn’t really recommend taking photos when the sun is high in the sky. It often creates undesirable results because it’s usually too bright and creates strong contrasts. So try walking around your area on your daily walk, when the sun is high up in the sky. See how it interacts with the buildings or trees around you. It won’t take long before you see shadows casting all sorts of patterns.
Just remember not to take photos at noontime. Since the sun is directly above you, the shadows it creates typically look unappealing and quite short. Aim for taking pictures before or after 12 PM when the sun is at an angle (10 AM or 3 PM are often ideal times).
If you want to create silhouette effects, then the golden hour is great for this…When the sun is directly behind any object you’re photographing, it naturally creates backlighting.
Consequently, the contrast it produces hides the details in your subject and causes it to look black.
4. Edit your Shadow Images
Once you have taken your photos, and hopefully got great results in camera/phone, you can then tweak your photos with a little editing!
First, adjust your contrast to make your shadows look darker and more dramatic. You should also consider increasing your blacks and shadows to make the dark tones look even richer.
Just make sure not to go overboard, or you’ll end up with a blown out photo. Remember that when it comes to editing, moderation is best!
Most phones have editing capabilities within the phone so it’s quick and easy to access, whereas with a digital camera you might have to download or bluetooth your images over to a laptop or iPad to edit. Try to get into a routine of uploading and editing each batch you take, then it’s part of your routine and flow of photography. When editing think about these things:-
- Crop your photo to remove unnecessary background if it looks better.
- Sharpen your image if needed.
- Add a little contrast
- Make blacks a little darker
Have fun and enjoy trying out shadow photography!


