

Macro Photography Tips
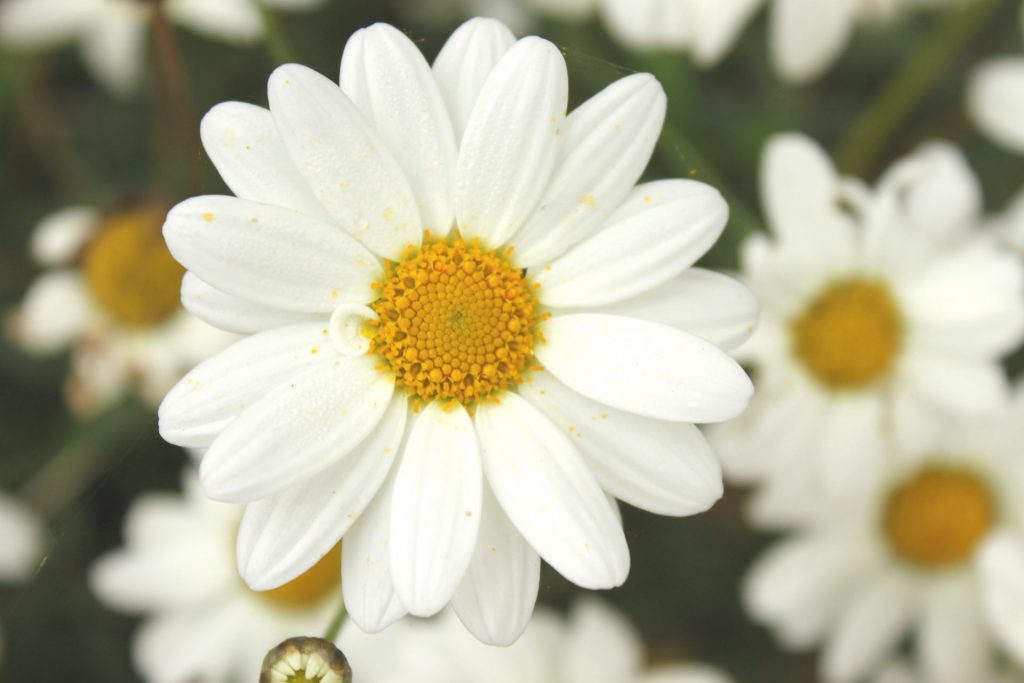
Macro Photography is usually extreme close up photography of very small subjects such as flowers or insects or fine details of a larger object. This can be style of photography can be achieved with either a camera or an iPhone by following a few simple tips.
Macro Photography can be quite tricky to get right and images can often be blurry if taken too close or with too much movement of the camera or subject.
1. Get Close
To achieve the best looking macro photos, the subject needs to be pin sharp and fill most of the frame. With your camera or phone, test out how close you can get to get a good result, as too close and the camera won’t be able to focus as it will have a minimum focal range. If you have got as close as your focus will allow, get the best photo and you can always crop closer in editing afterwards. If you have a macro lens on your camera, then this will allow you to get super close with your focal range, however if your camera or phone don’t have specific lenses, then experiment with moving back and forward to get the correct range of focus.
2. Minimise Movement
When you get super close to a subject, the slightest movement can throw off the focus and create blur, so it’s crucial to try and keep you camera or phone really still when you’re capturing your subject. You can get some simple tripods for phones and cameras that are perfect for your close up photos and are a great help to get perfectly sharp photos!
Try not to shoot on a windy day if it’s outdoor flowers, insects etc that you’re wanting to photograph as the wind will blow the plants and create lots of movement on your images. Wait for a still day so you can be more free with your creativity, as on a windy day there will be a lot of waiting for the wind to drop and your subject to be still again!
3. Experiment with angles
When most people take macro photographs, they usually just take photos from above. It’s the most natural angle for many since the objects they shoot are small and below eye level. However, that doesn’t mean that’s the only perspective you should try. You can always take photos from the side, from a 45-degree angle, or even from below. Try various shots that offer variety. People encounter overhead pictures of flowers all the time. Try to create something that is unusual and your own style of photography.

4. Edit you images
To make your macro images even more beautiful is by spending a little time editing the ones that you love. The advantage of digital cameras and phones is that you can take LOTS of photos and then choose the ones you like, however DON’T OVER SHOOT! If you’re trying to get a good shot, then take a few images (say 3-5) of the same angle and distance. Then look at those and select the best one or two and delete the rest, otherwise you’ll end up with hundred of images to trawl through when it comes to editing.
Most phones have editing capabilities within the phone so it’s quick and easy to access, whereas with a digital camera you might have to download or bluetooth your images over to a laptop or iPad to edit. Try to get into a routine of uploading and editing each batch you take, then it’s part of your routine and flow of photography. When editing think about these things:-
- Crop your photo to remove unnecessary background if it looks better.
- Sharpen your image if needed.
- Brighten if a little too dark, remember it’s better to have a darker photo than one that is over exposed!
- Add a little, subtle vignette to the edge of the image to help draw the eye to the centre focus point of the image.
Have fun and enjoy trying out macro photography!